Today I gonna show you how to do color test on your gunpla kit with photoshop. This is actually a matter for those who wants to try to use a different color from the original.
Seems I'm joining the HGUC 1/144 RGM-96X Jesta group build, so I'm using HGUC 1/144 RGM-96X Jesta for sample. Let's begin!
1. Do your research. Study your kit and what kind of color you wish to put.
2. Find a big and clear images from net. Recommend to choose front, back and side view. At this tutorial I will using the front view. Click on the picture for larger view.
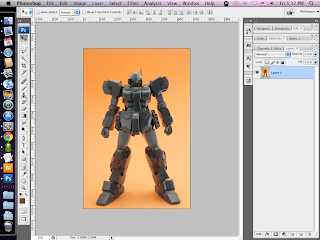
3. Duplicate another layer. Keep the original picture, incase anything go wrong you still have the original picture.
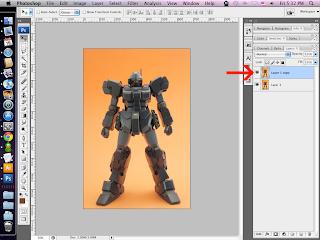
4. Now I need to remove the orange background by using the Magic Wand Tool (short cut key: W).
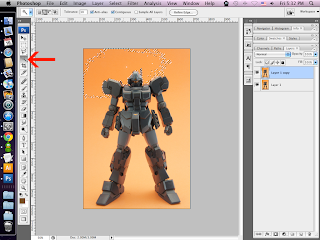
5. Make sure all the Orange color are selected.
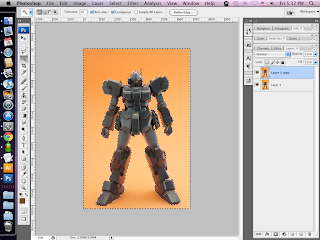
6. Press "Delete" to delete selected area.
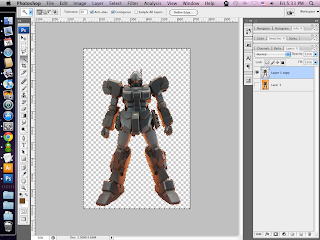
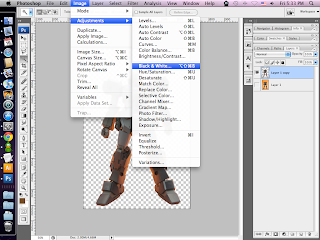
7. As you can see there still have the Orange color on the model kit, now i gonna make the picture as black and white. Goto Image > Adjustments > Black & White.
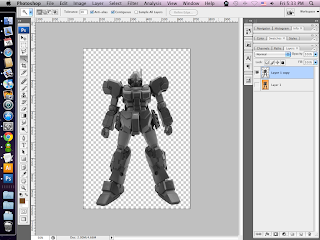
8. Ok done. Here is how it look like.
9. Now I want to make the picture more brighter or light grey. It just like applying primer on your gunpla kit. Goto Image > Adjustments > Levels.
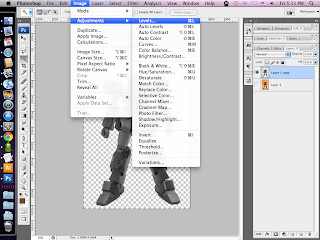
10. Adjusting the Levels. No fixed formula, suit yourself ;)

11. Once done, create a layer, add a background color on the layer, and position it to the bottom.
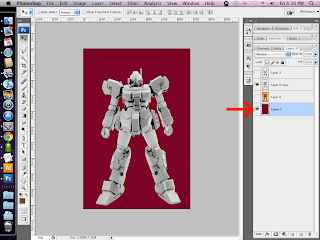
12. Now is the interesting part. Let's say I want to make this kit as 7-Eleven color theme, so it has Green, White and Red colors. What I'm trying to do is using Polygonal Lasso Tool (short cut key: L) to draw a shape on the shoulder.
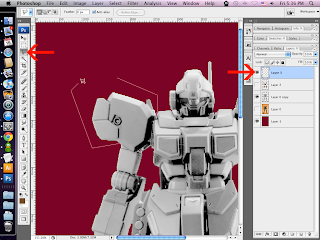
13. Before you adding the color, create a new layer. Fill the shoulder with green on the new layer.
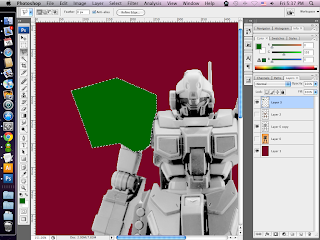
14. Change the option to Multiply, so it will look like a clear green.
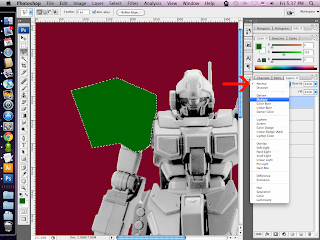
15. As you can see there is the excess green. Let's remove it.
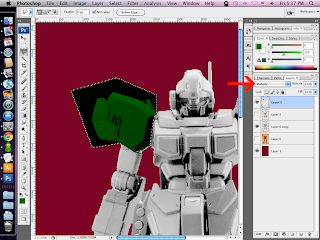
16. Hold down CTRL and click on the "Layer 0 copy" small thumbnail to select that section. And then right click on your mouse, select "Select Inverse", and press "Delete". Make sure you select the right layer before you delete.
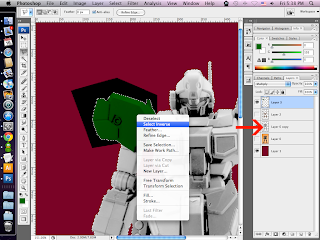
17. Now the excess it's gone.
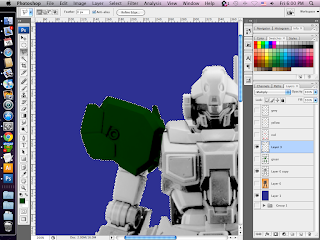
18. Here is the sample that after applying Green color.
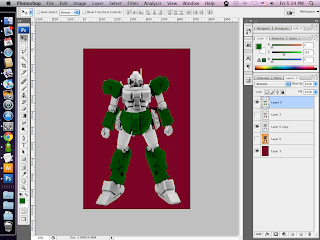
19. Ok set! HGUC 1/144 RGM-96X Jesta 7-Eleven version.
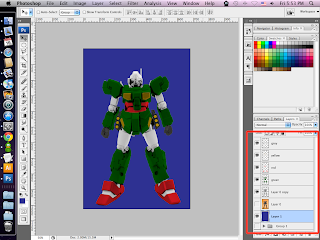
You get the idea now? Do make sure each color each layer.
3 comments:
Nice tutorial bro!!! Good for the group build haha.
Hi Chubbybots, cheers! Look forward on your masterpiece ;)
or use pen tool for precise cut...
Post a Comment